
Developers · Docs
Developers
Get dimensions, weight, barcode and photos into your own systems.
An introduction for developers and IT: what the M2 sends, which of the four paths to choose, and how to start. The field-by-field details live in the API reference.
- Device push
- JSON over HTTPSone record per scan
- Units
- mm and gshape Cuboidal or Irregular
- Cloud API
- 60 requests/minQBOID Cloud Pro
- No code
- WorkFlowsany WMS, ERP, TMS or endpoint
What you can build
Scan data where your team already works.
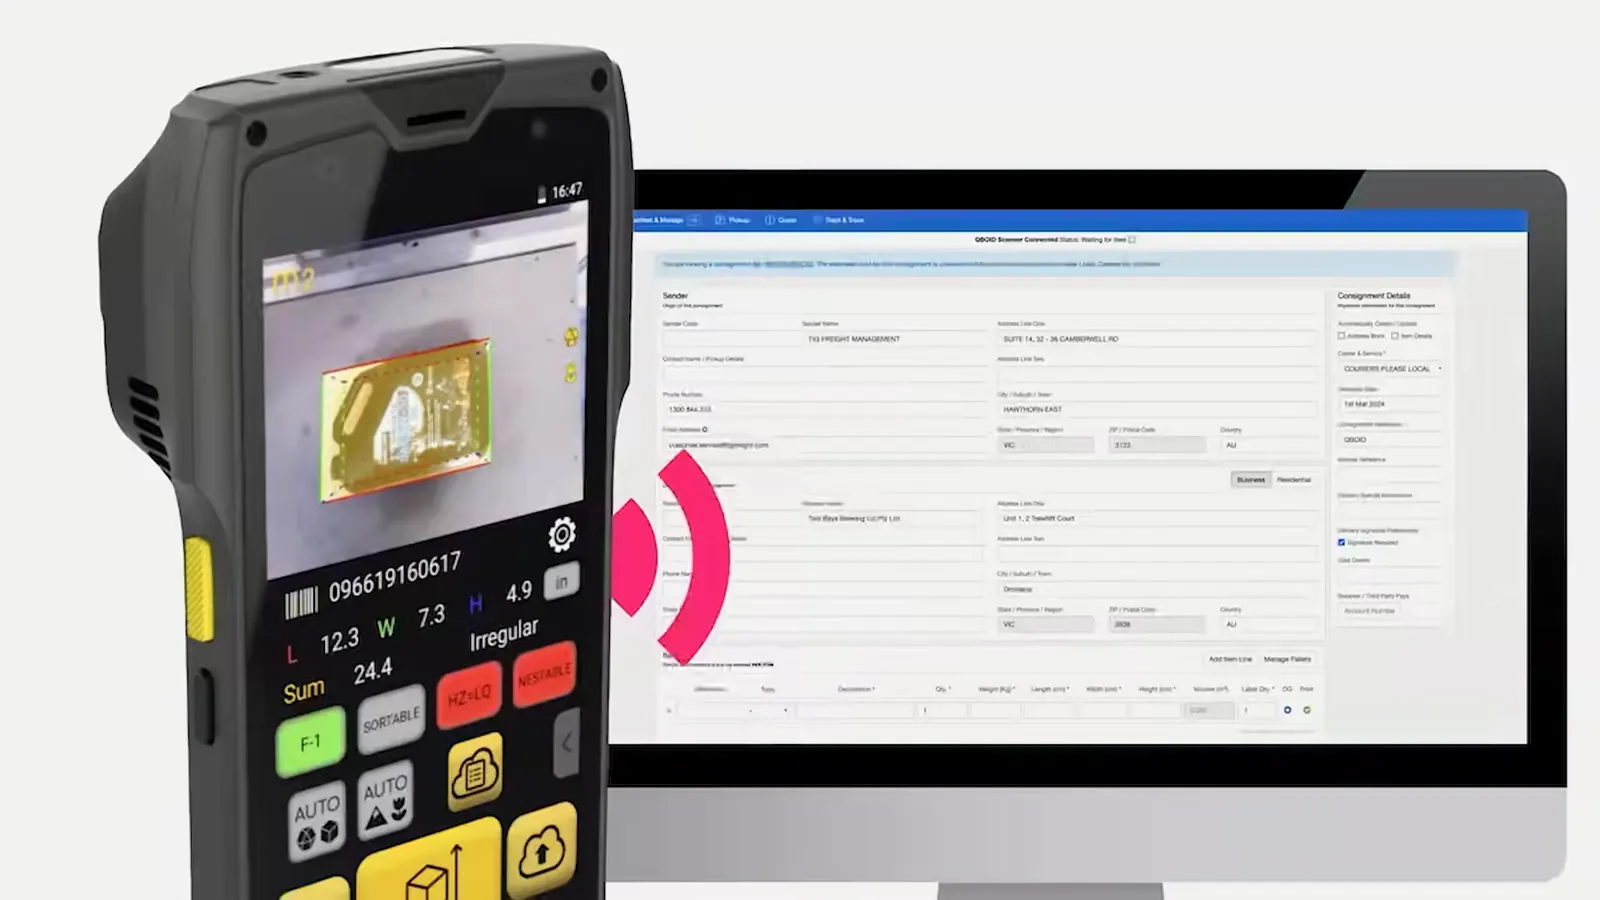
Each scan on the M2, handheld or docked in the S1, produces one record: length, width and height, weight from a paired scale, the barcode, the shape, your own fields and three photos. You decide where it goes.
- Write dimensions and weight to the item master in your WMS or ERP
- Rate shipments and choose cartons from measured dimensions in your TMS or packing software
- Keep a photo of every item or shipment next to its record
- Run the measurement from inside your own Android app on the M2
Choose a path
Four ways to get the data.
Most projects use one. Some combine two, for example the device push to the WMS and QBOID Cloud as the photo archive.
| Path | How it works | When to use it | What you need |
|---|---|---|---|
| Perceptor API device push | The M2 sends each record as JSON in an HTTPS POST to your endpoint, as the scan happens | You want scans in your system in real time, with nothing in between | An HTTPS endpoint that answers 2xx; optional bearer token; CA-signed or self-signed certificate |
| Android intents | Your Android app on the M2, handheld or docked in the S1, starts a dimensioning and gets the record back, with the scale's weight when one is paired | Operators already work in your own mobile app, such as a WMS client | An Android app you build and install on the M2 (Android 10) |
| QBOID Cloud REST API | The M2 syncs to QBOID Cloud; your system pulls the records | Scheduled imports, or devices that shouldn't reach your systems directly | QBOID Cloud Pro; up to 60 requests per minute |
| WorkFlows | QBOID builds an app with you that captures your fields and sends them where you choose | No developer time, or a process with several steps and checks | A call with QBOID; no code |
Quick start
First record in a few steps.
The outline for each path. Settings, parameters and response codes are in the reference.
Perceptor API · device push
Receive scans at your endpoint
- Open an endpointAn HTTPS URL that accepts a JSON POST and answers with a 2xx status.
- Point the M2 at itIn the app on the M2: Settings › Data Settings › WiFi API. Enter the URL and, if you use one, the bearer token.
- Scan an itemThe record arrives at your endpoint. Map the fields to your item or shipment record.
Android intents
Measure from your own app
- Install your app on the M2Next to the QBOID app, by hand or through your MDM.
- Start a dimensioningCall the dimensioning intent of the Item & Parcel app (S1 mode included) or the Pallets app.
- Read the resultYour app gets the same record back, and can still queue it for the device push.
QBOID Cloud REST API · Pro
Pull records from the cloud
- Connect the M2 to QBOID CloudAdd the device by scanning a QR code from the browser (see the video below).
- Activate ProThe REST API comes with QBOID Cloud Pro.
- Pull on a scheduleFetch new records, up to 60 requests per minute. Reference coming; ask the integration team meanwhile.
WorkFlows · no code
Have the app built with you
- Book a callDescribe the process and the system the data should reach.
- Get the appMost apps are ready during the call; complex ones within 24 hours. Install by QR code.
- ScanRecords go to your WMS, ERP, TMS or endpoint, email, Google Sheets or QBOID Cloud.
An Android intent call, recorded.
A test app on the M2, docked in the S1, starts the QBOID capture with one button. The operator scans the barcode and places the item; the app gets back the dimensions, the weight from the scale, the shape and three photos, and sends the record on, here to QBOID Cloud, where it appears in the table on the left of the recording.
Your app calls the QBOID capture Interim
Raw screen and camera recording, without narration or callouts. An edited version with titles for each step is planned.
Example payload
One scan, one JSON record.
The text fields of a record as the M2 sends them. The same record is returned by the Android intent and stored in QBOID Cloud.
POST · application/jsonSample record
{
  "timestamp": "2021\/05\/11 19:39:11",
  "l": 232,
  "w": 226,
  "h": 162,
  "barcode": "",
  "shape": "Cuboidal",
  "device": "639b7032",
  "note": "",
  "attributes": {}
}
A box 232 × 226 × 162 mm, no barcode scanned. When a scale is paired, weight is added in grams; the three photos travel as image, imagecolor and imageseg. Slashes in the timestamp may arrive escaped (\/); any JSON parser reads them as /.
| Field | What it holds |
|---|---|
l, w, h | Length, width, height in mm (integers). Length is the longer side on the ground plane |
weight | Weight in g, from a paired Bluetooth scale or the S1 scale, or typed |
barcode | UPC, SKU label, PO or your own barcode, from the scanner or typed |
shape | Cuboidal or Irregular |
attributes | Your own keys and values, from the four custom keys |
note | Free text from the operator |
image, imagecolor, imageseg | Three photos as base64 JPG: with the bounding box, plain, and background removed |
timestamp, device | When (UTC, yyyy/MM/dd HH:mm:ss), and which M2 (serial number) |
API references
The details live here.
Generated from QBOID's code, so they match the release you run. More references join this list as they are published.
Available
Perceptor API reference ↗
Device push settings, Android intents and every record field.
qboid.ai/developers/perceptor-api/
Reference coming
QBOID Cloud API
Pulling records from QBOID Cloud (Pro, 60 requests/min). Until it's published, the integration team sends the details.
Reference coming
Device API
Its own reference page, to be published next to the Perceptor API.
Download To confirm
SDK (zip)
Sample code and the reference for offline use. Current version: to confirm. Version history comes with the download.
qboid.ai/developers/perceptor-api.zip
Support for integrators
Who to ask.
| A new integration project | The integration team, through the form below. Tell us your WMS, ERP or TMS and how records should arrive. |
|---|---|
| A technical question on devices you already run | support@qboid.ai |
| Your system has a partner connector | The partner sets it up; see integration partners. |
| Building for your own customers | System integrators and resellers: Partners & resellers. |
Network and security questions (outbound only, proxy, bandwidth, MDM) are answered in the IT checklist.
M2 how-to, step 4: connecting to the Cloud
Set up a QBOID Cloud account, add an M2 by scanning a QR code from the browser, and see its scans arrive: the first step for the Cloud REST API.
Integration team · Book a demo
Talk to our integration team.
For IT and developers: tell us the system, the fields you need and how records should arrive. We'll suggest the path, or show a record arriving in a system like yours in a demo.
- Demo: about 20 minutes, remote, on items you choose
- Or leave your details: sales replies within one business day
- Ships to all US states; resellers in North and South America, EMEA and APAC
Or write to sales@qboid.ai, or call +1 (408) 419-1449. Technical questions on devices you already run: support@qboid.ai.
Need a device to develop against? Buy the M2 on the store ↗Rent a loaner unit ↗